Microsoft Azureに設置したWeb AppsからiOSへプッシュ通知を送るためにMicrosoft AzureのNotification Hubを利用してみます。(その1)
iOS:8.4.1
Xcode:6.4
Swift:1.2
Mobile Services iOS SDK:1.2.4
基本的にはMicrosoftのドキュメント「Azure Notification Hubsの使用」の通りにします。
Swiftで利用する点やWeb Appsからの通知実装を補足します。
まずは準備としてMicrosoft Azureで通知ハブを使えるようにします。
1.Microsoft Azureで通知ハブの設定
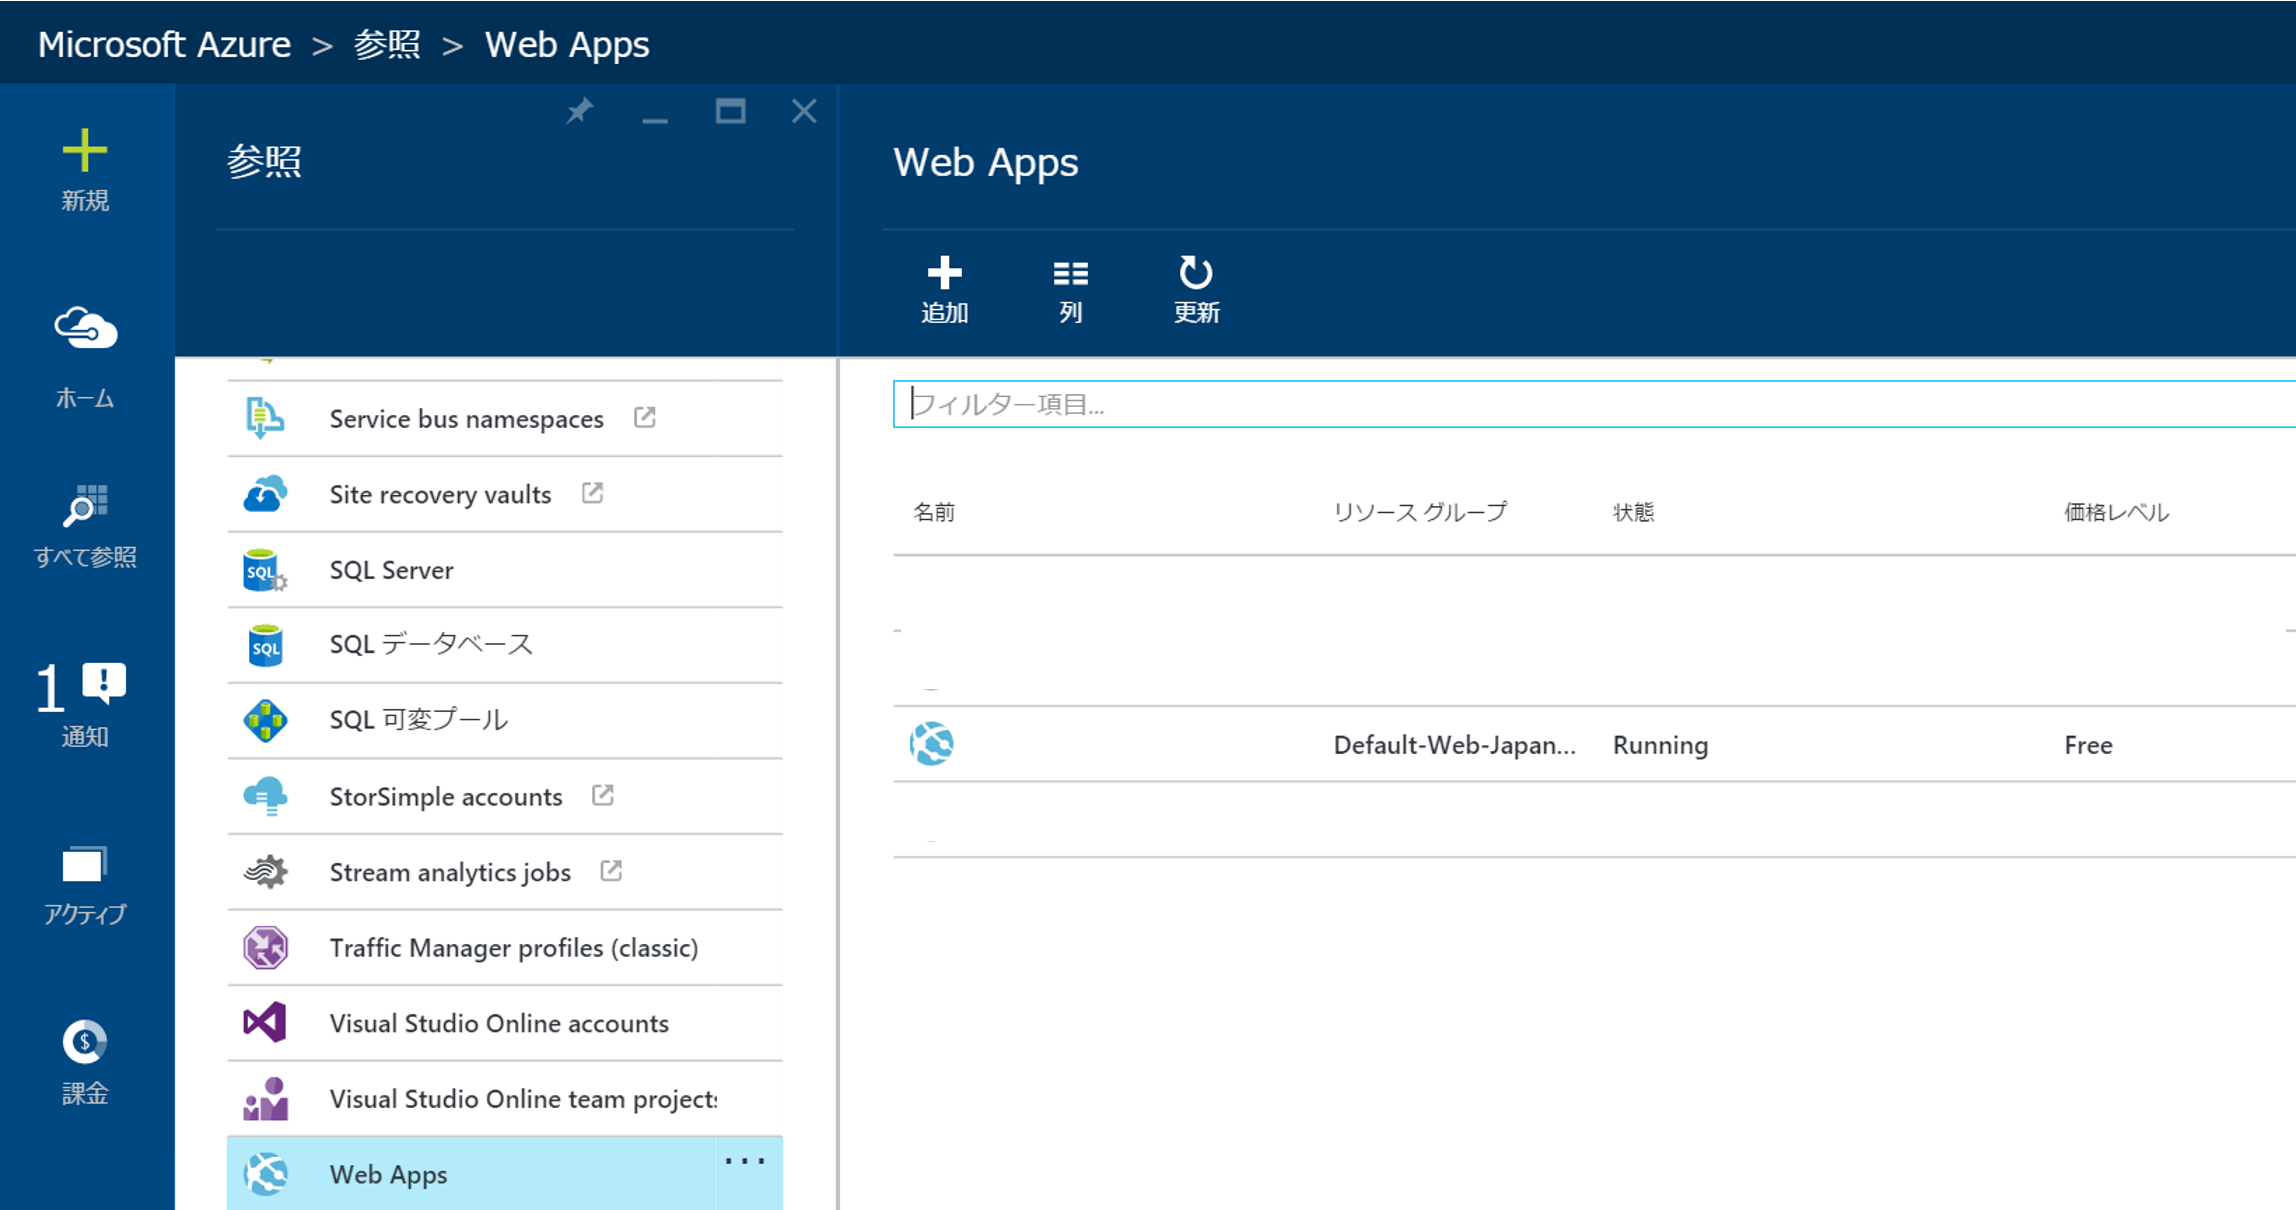
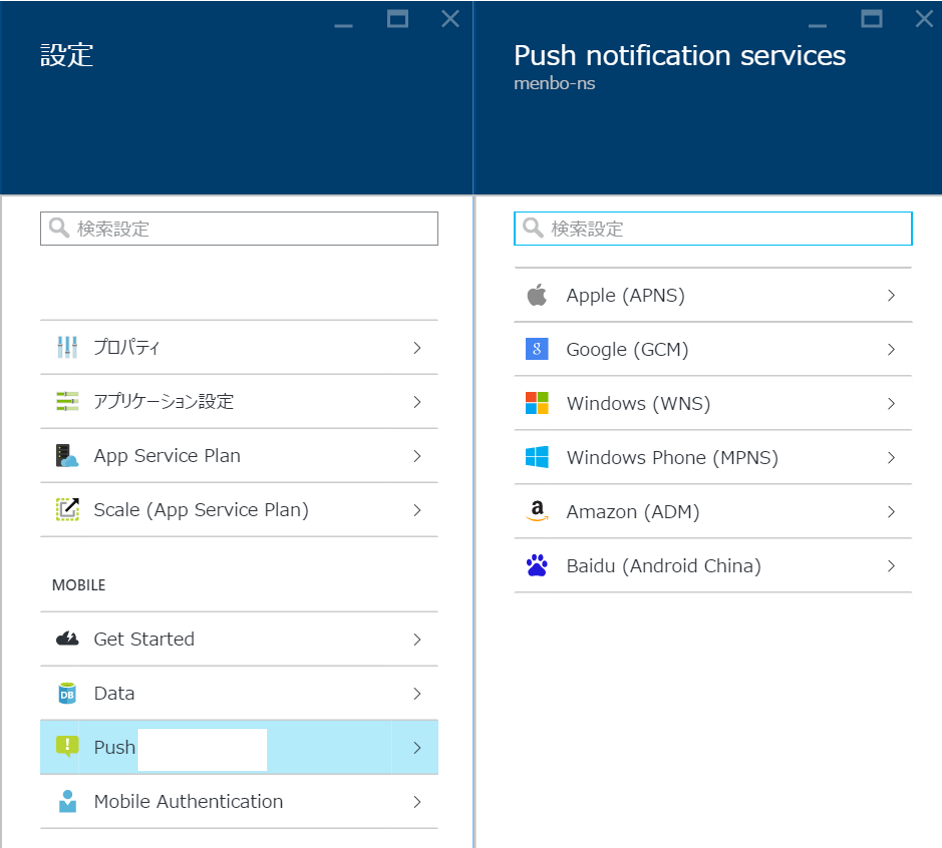
Microsoft Azure ポータルでWeb Appsに通知ハブを追加します。
「参照」-「Web Apps」-「追加したいサイトを選択」します。
サイトの「設定」を選択します。
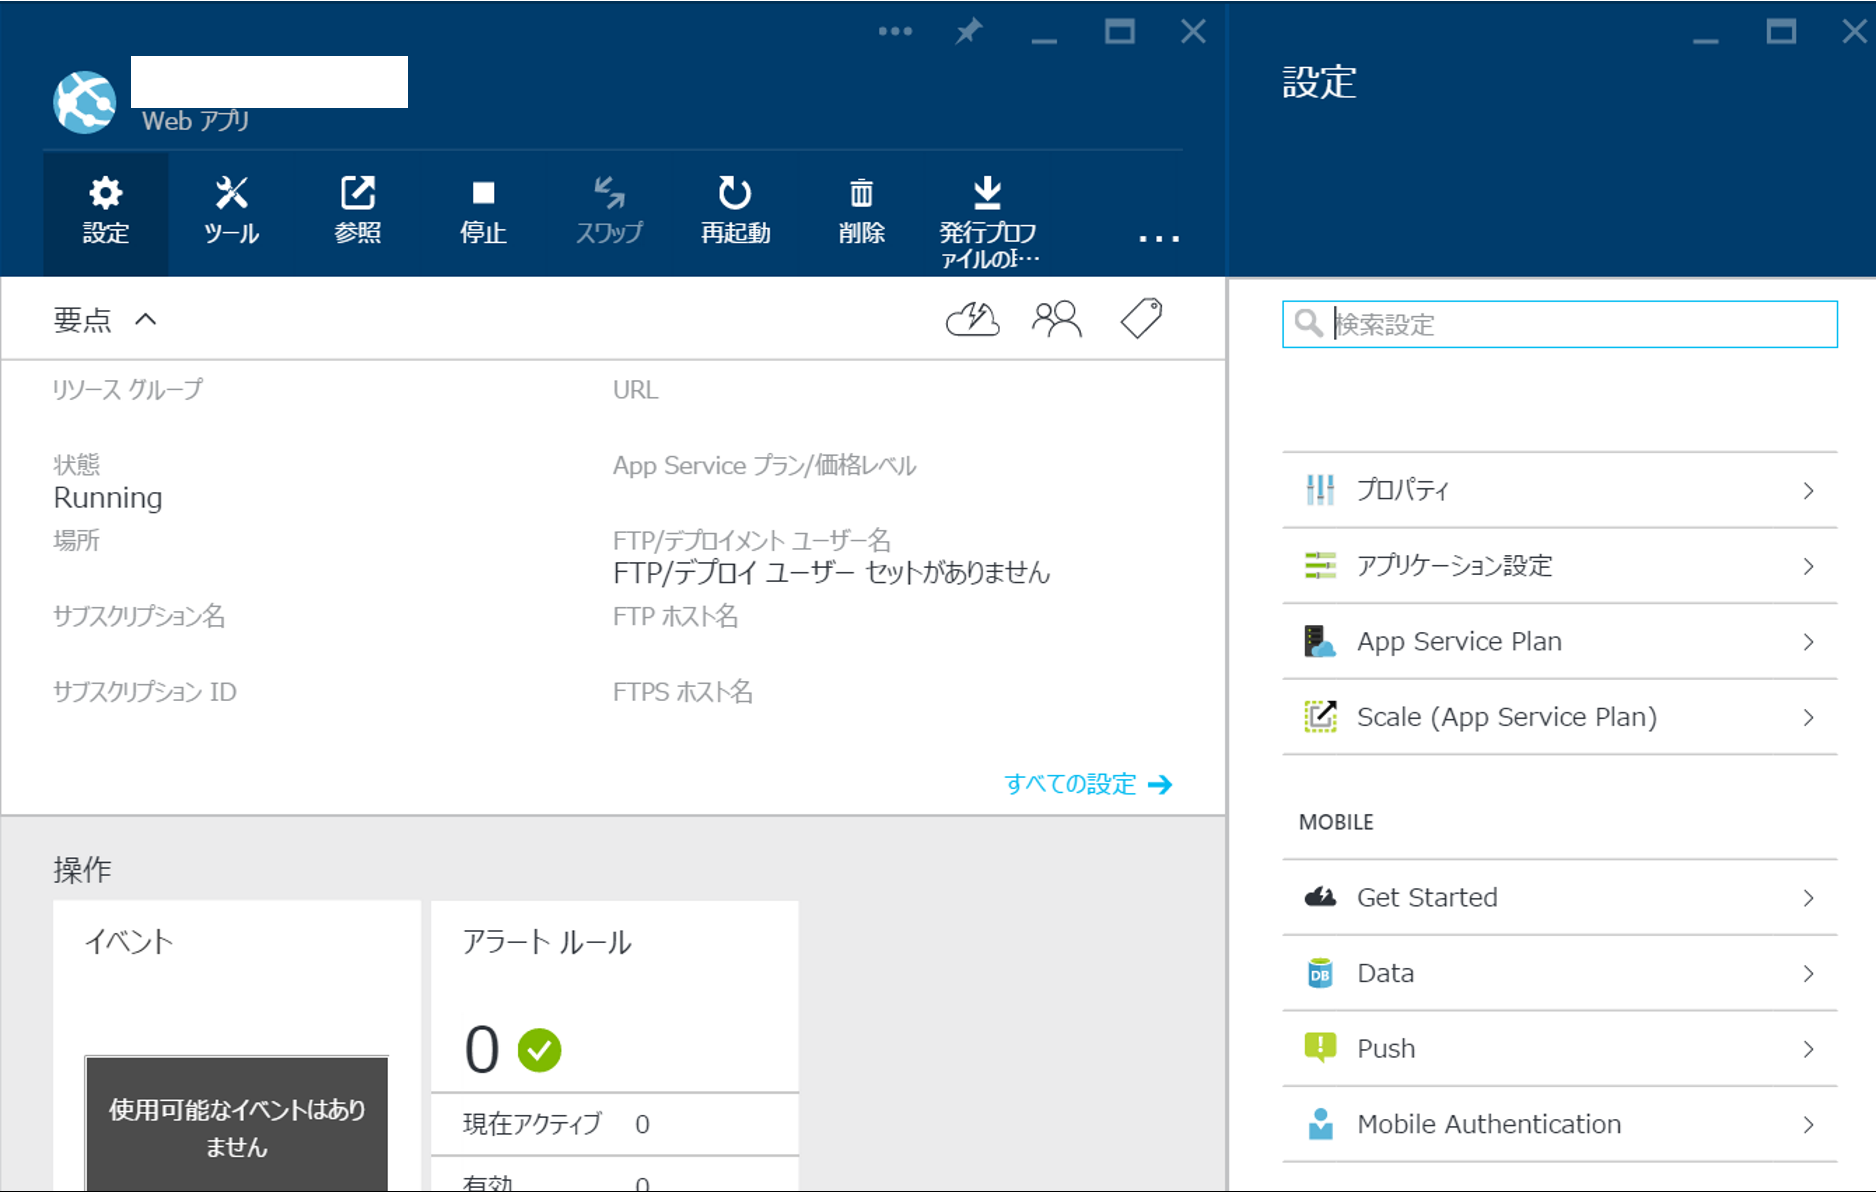
設定の中から「Mobile」-「Push」を選択します。

「必要な設定の構成」-「Notification Hub」-「On Create New」を選択します。
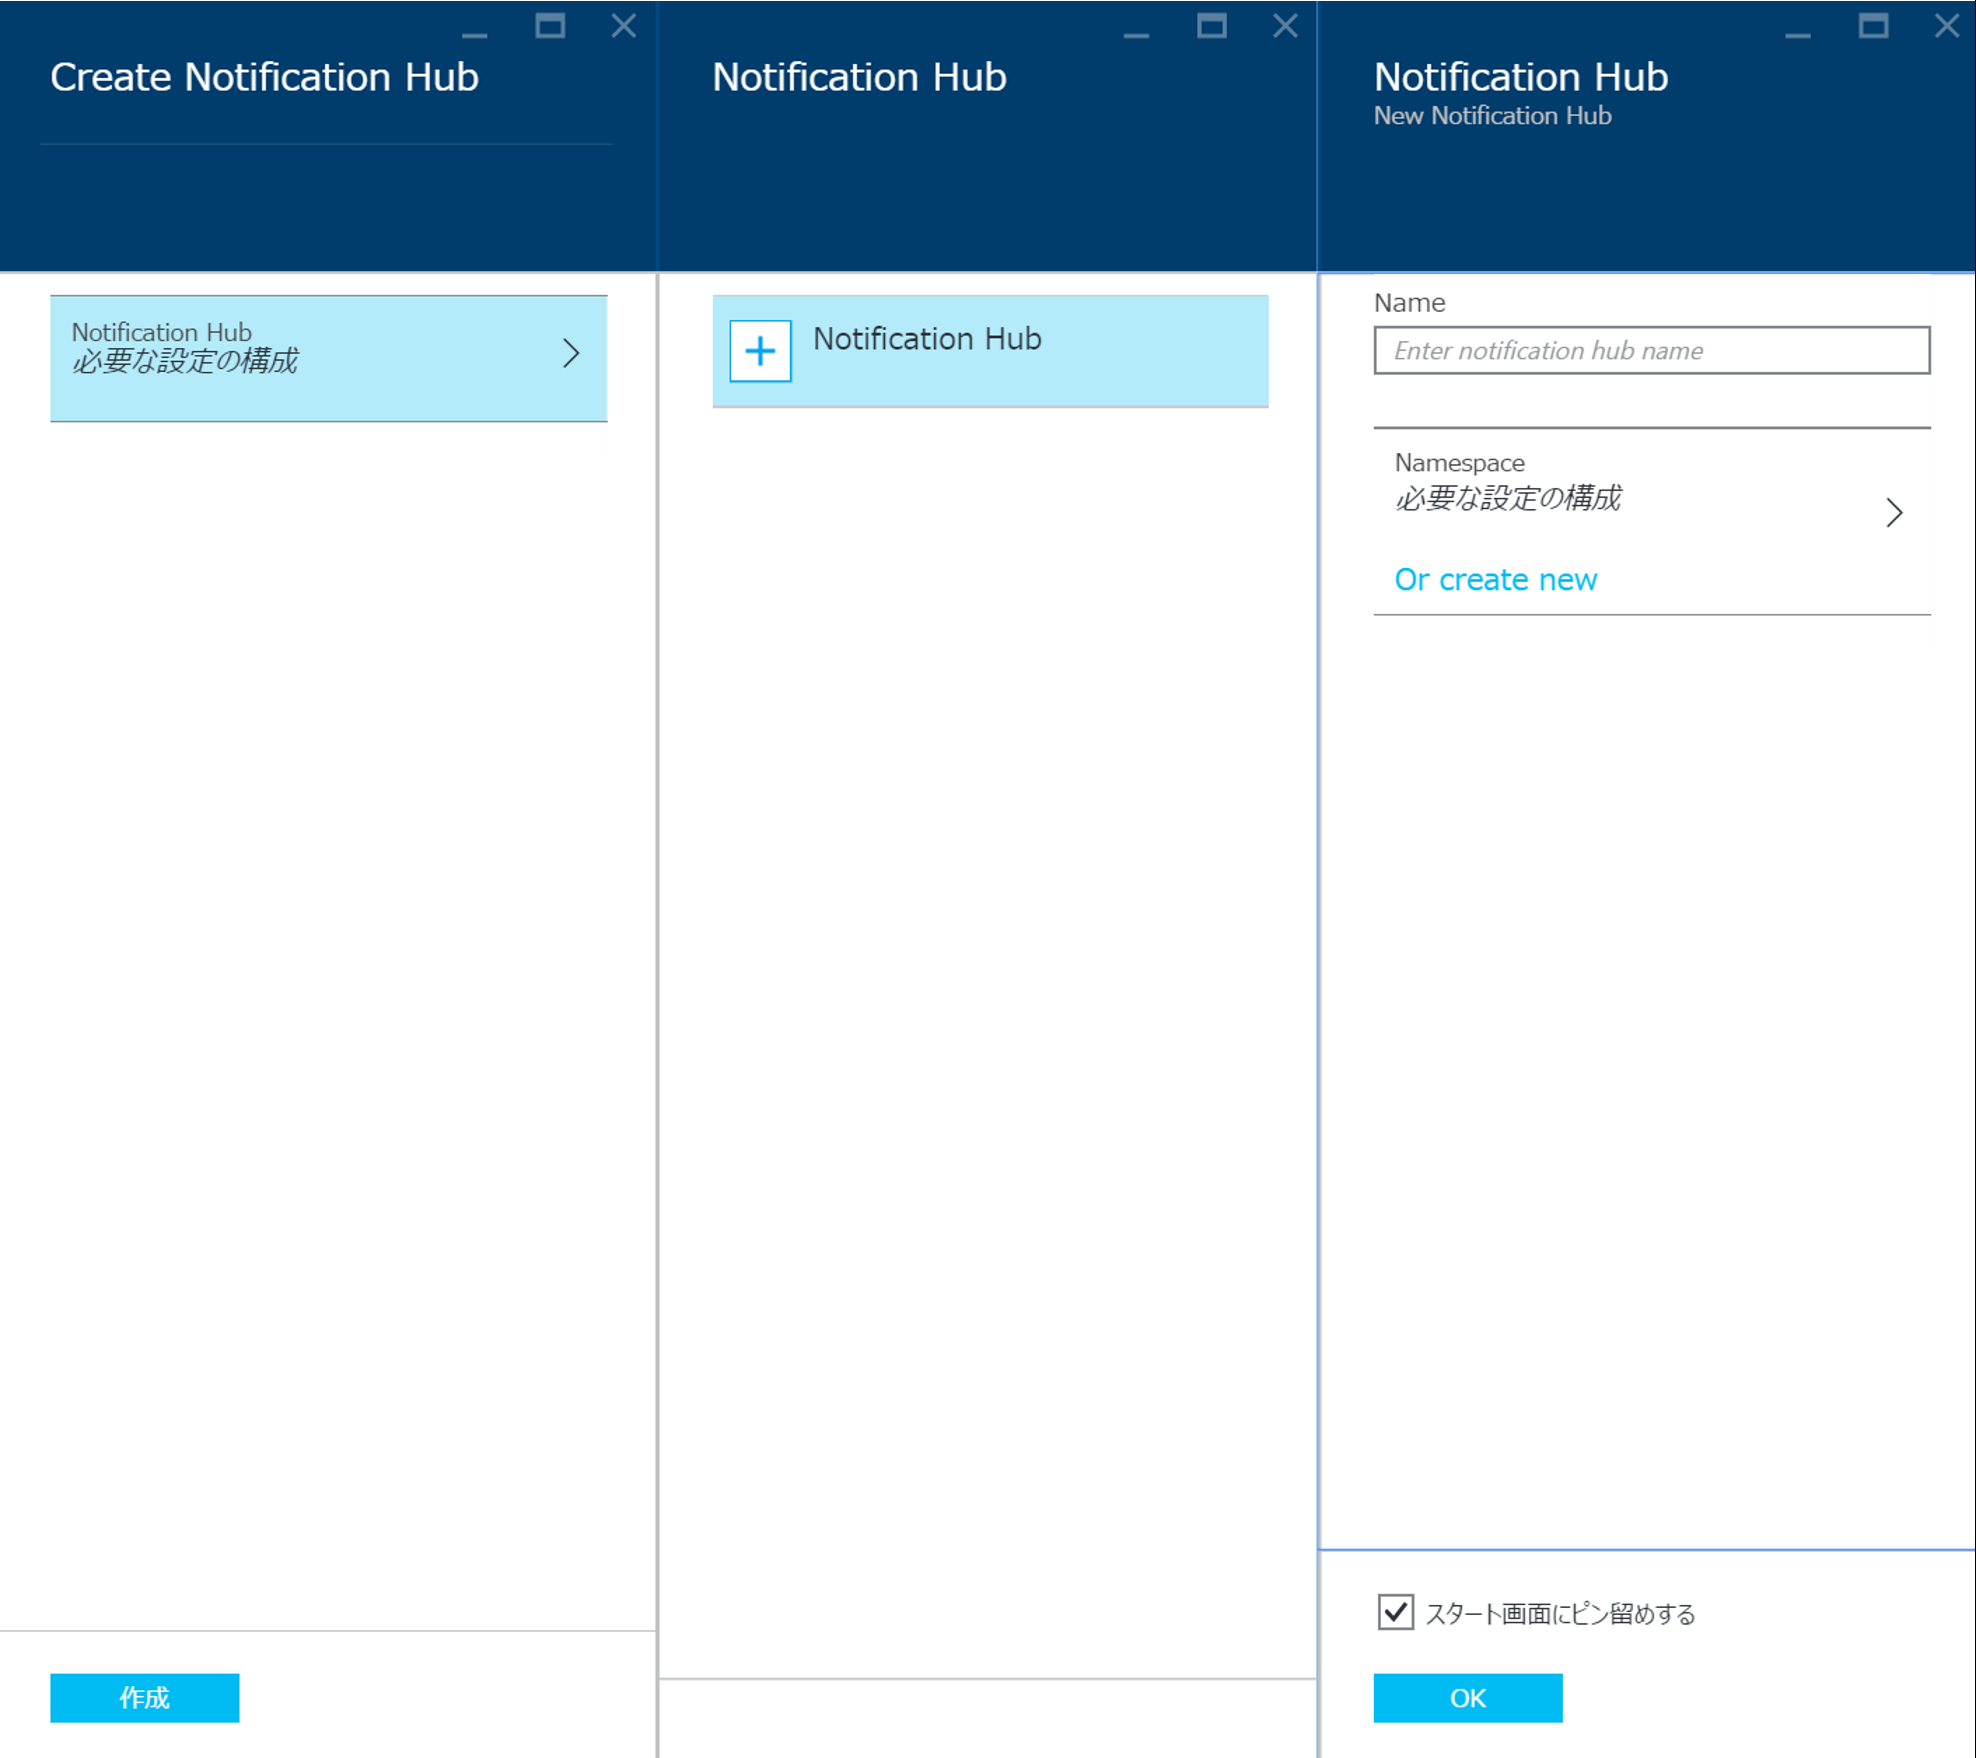
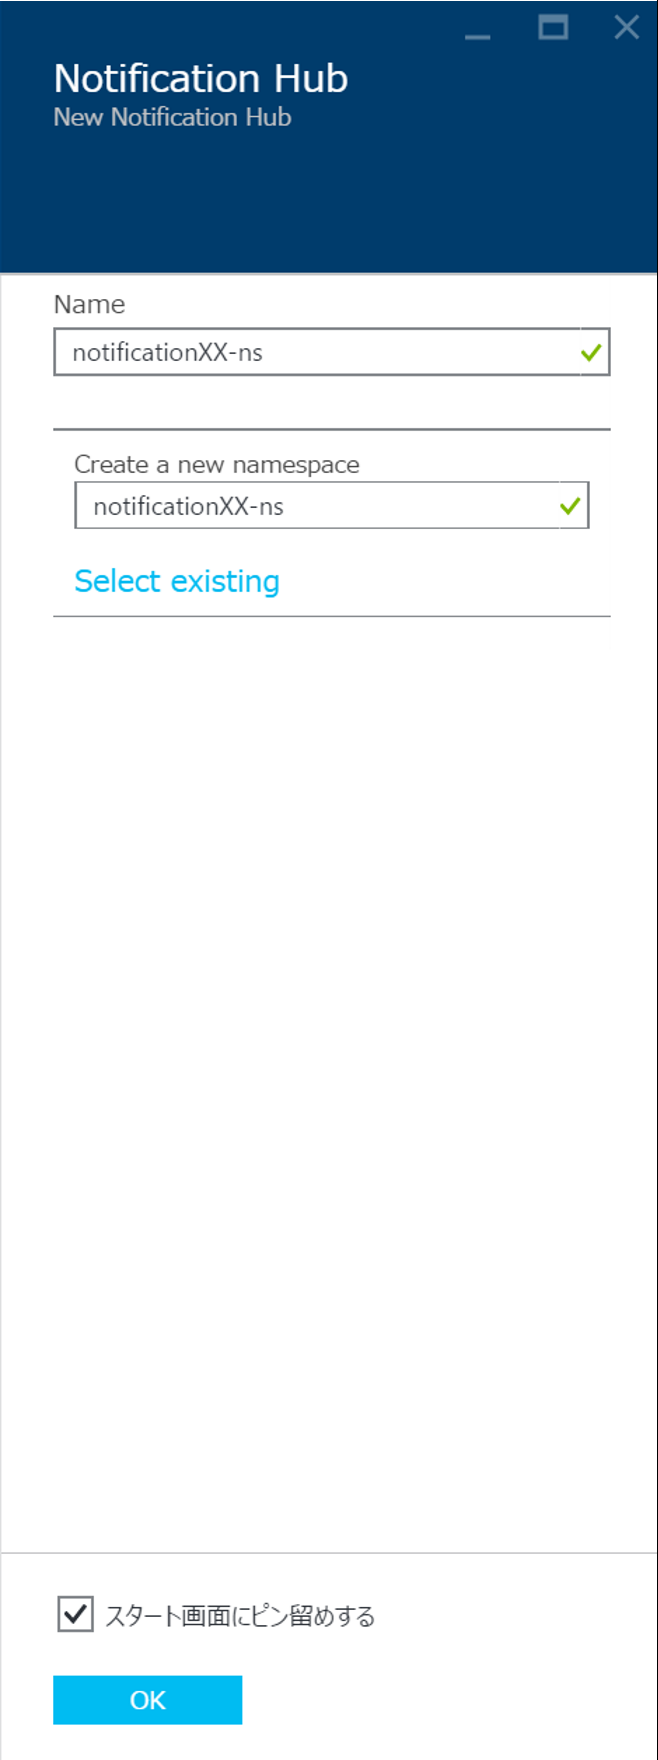
「Name」と「Create a new namespace」を入力し「OK」を押下します。
再度「設定」-「Mobile」-「Push」で各サービスの設定が出来ます。
2.DefaultFullSharedAccessSignatureの確認
確認するためにはクラシックポータルへ移動します。
トップページから「Azure ポータル」を選択します。

「SERVICE BUS」-「作成した通知ハブ名」を選択します。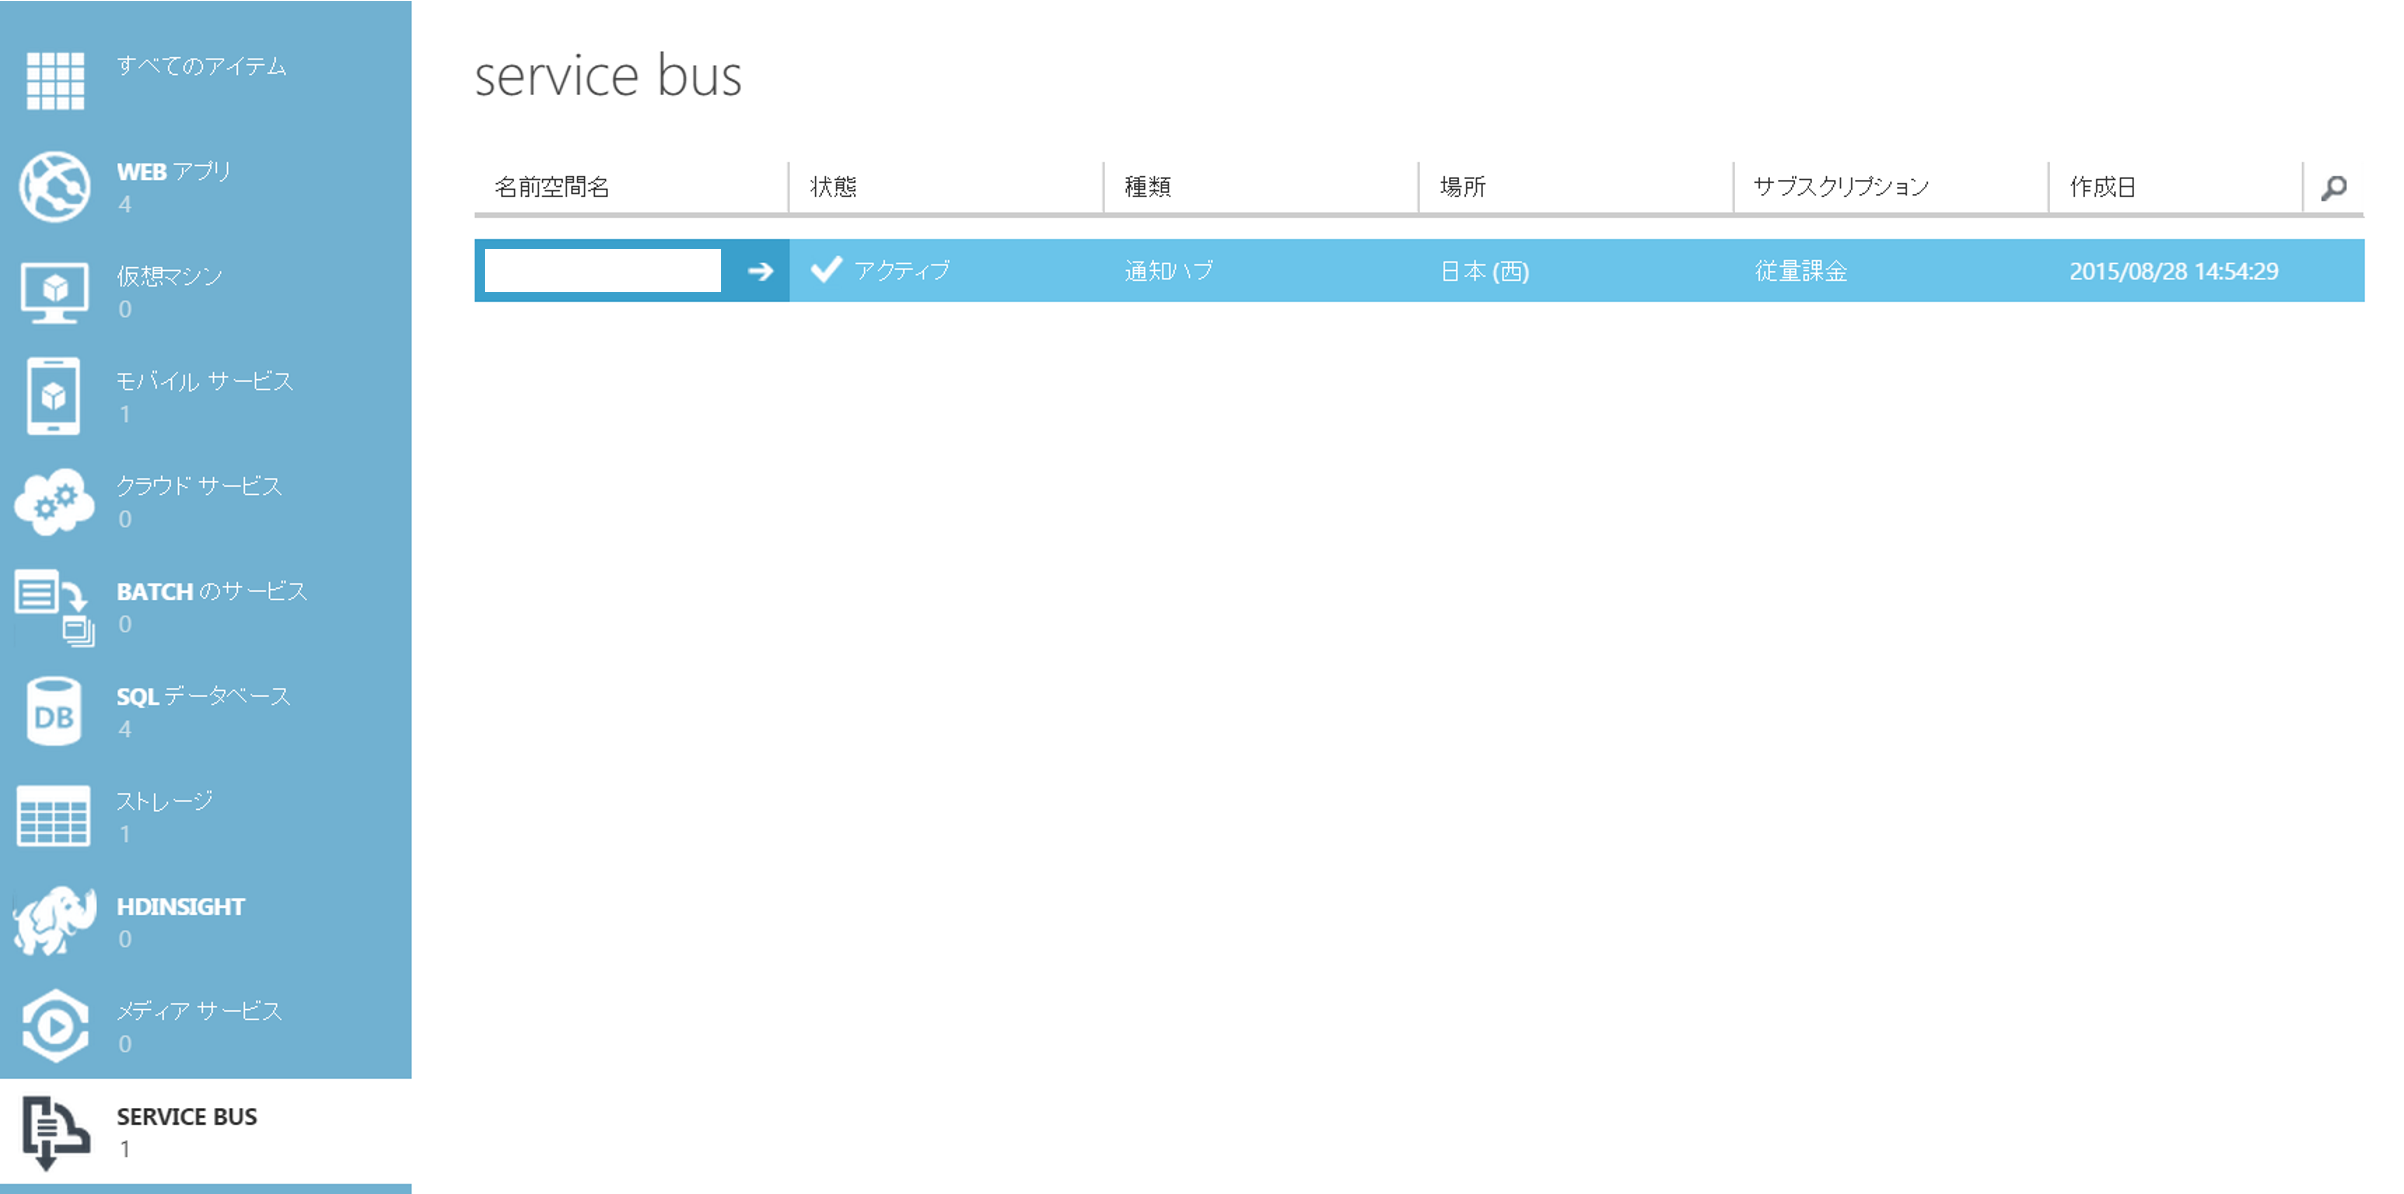
さらに「作成した通知ハブ名」を選択します。
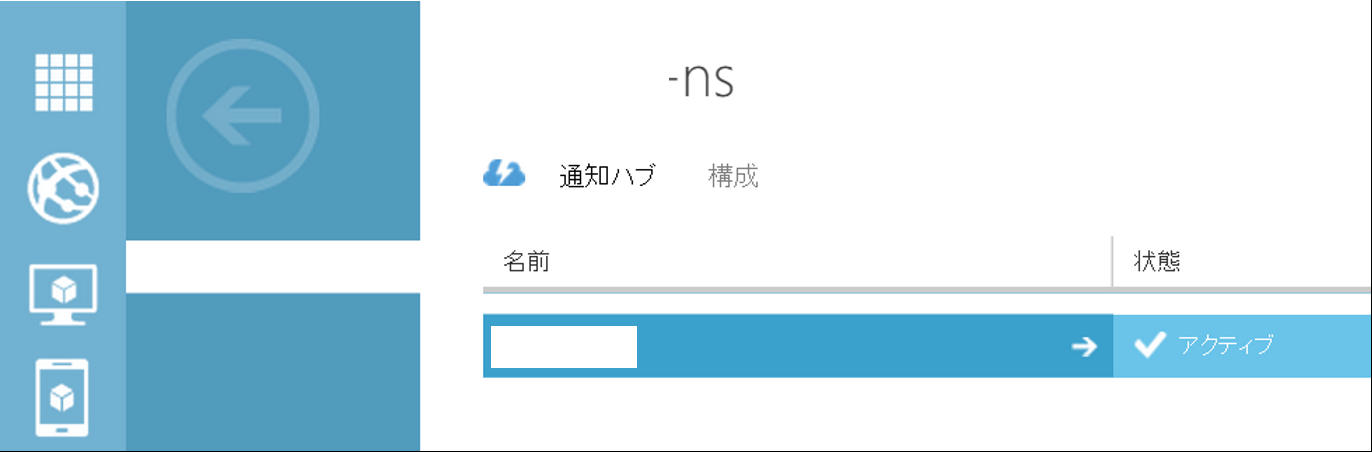
「構成」を選択します。
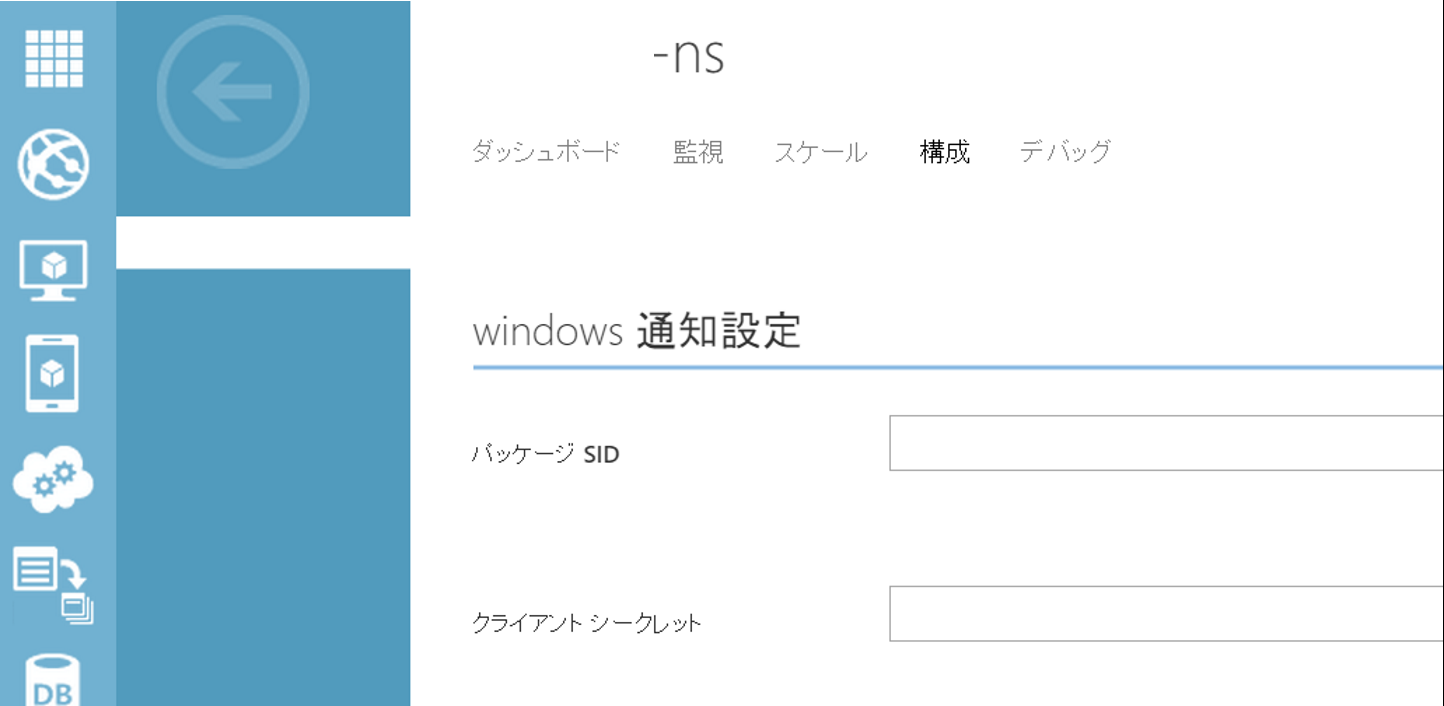
「共有アクセスキー生成コンポーネント」でポリシー名から「DefaultFullSharedAccessSignature」を選択します。
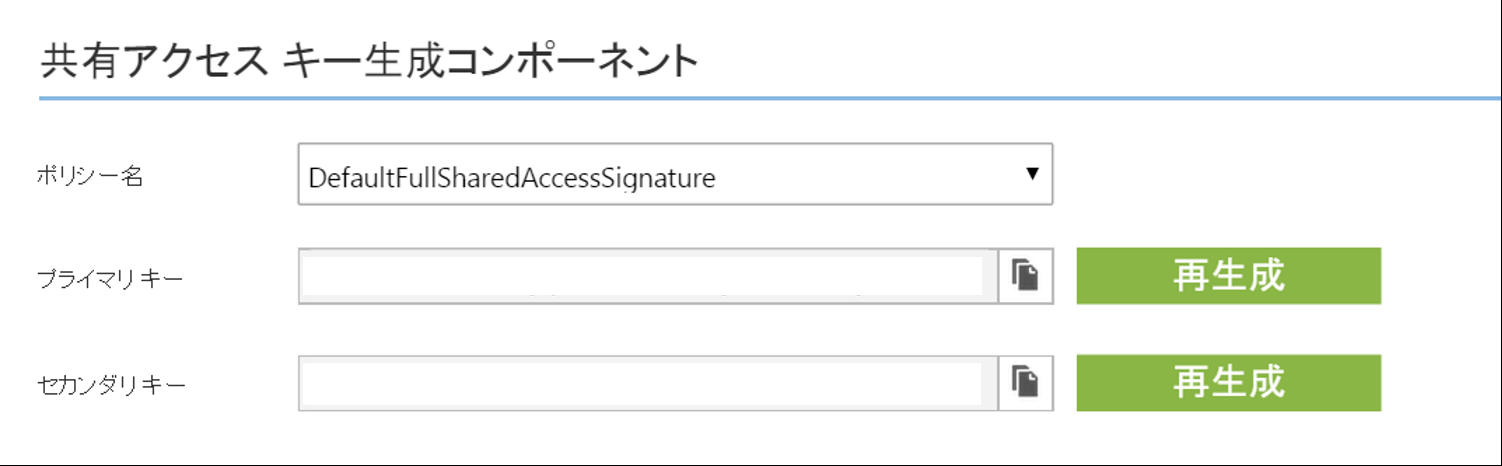
表示された「プライマリ キー」を後のデバイス登録で使用するためメモしておきます。
次回はiOSアプリの通知受信準備です。